
08 Jun Maker’s Monday: Belt Systems Part 2
Hi everyone! Happy Maker’s Monday!
I’ve had a lot on my plate to get done this past week so I hope you don’t mind me doing a nice short & simple tutorial to continue with our belt systems today. This week I’m focusing on something small but important: belt pouches!
When I can, I like to have cosplays with pouches I can use to store my smaller essentials. This is stuff like my wallet, keys, and even my glasses (as I’m not allowed to actually wear contacts). They can be made in plenty of sizes with  pretty much the same process every time with only minor adjustments depending on the shape you’re making. To demonstrate the process this week, I’ll be making the pouch for Velvari’s instrument! Supplies I’m using are my usual suspects: 2 & 5mm craft foam, something to take measurements, box cutter, modge podge, contact cement, & acrylic paints. Let’s get started!
First thing’s first. We need some dimensions. The kalimba I have measures out roughly to 7in long x 5in wide x 2.5in high when accounting for the keys.

 I tend to build my pouches in 2 parts. An internal structure made of 5mm craft foam, and an outer shell of 2mm craft foam. So taking the first round of measurements, we’ll be cutting out some simple rectangles from the 5mm craft foam for the internal structure.
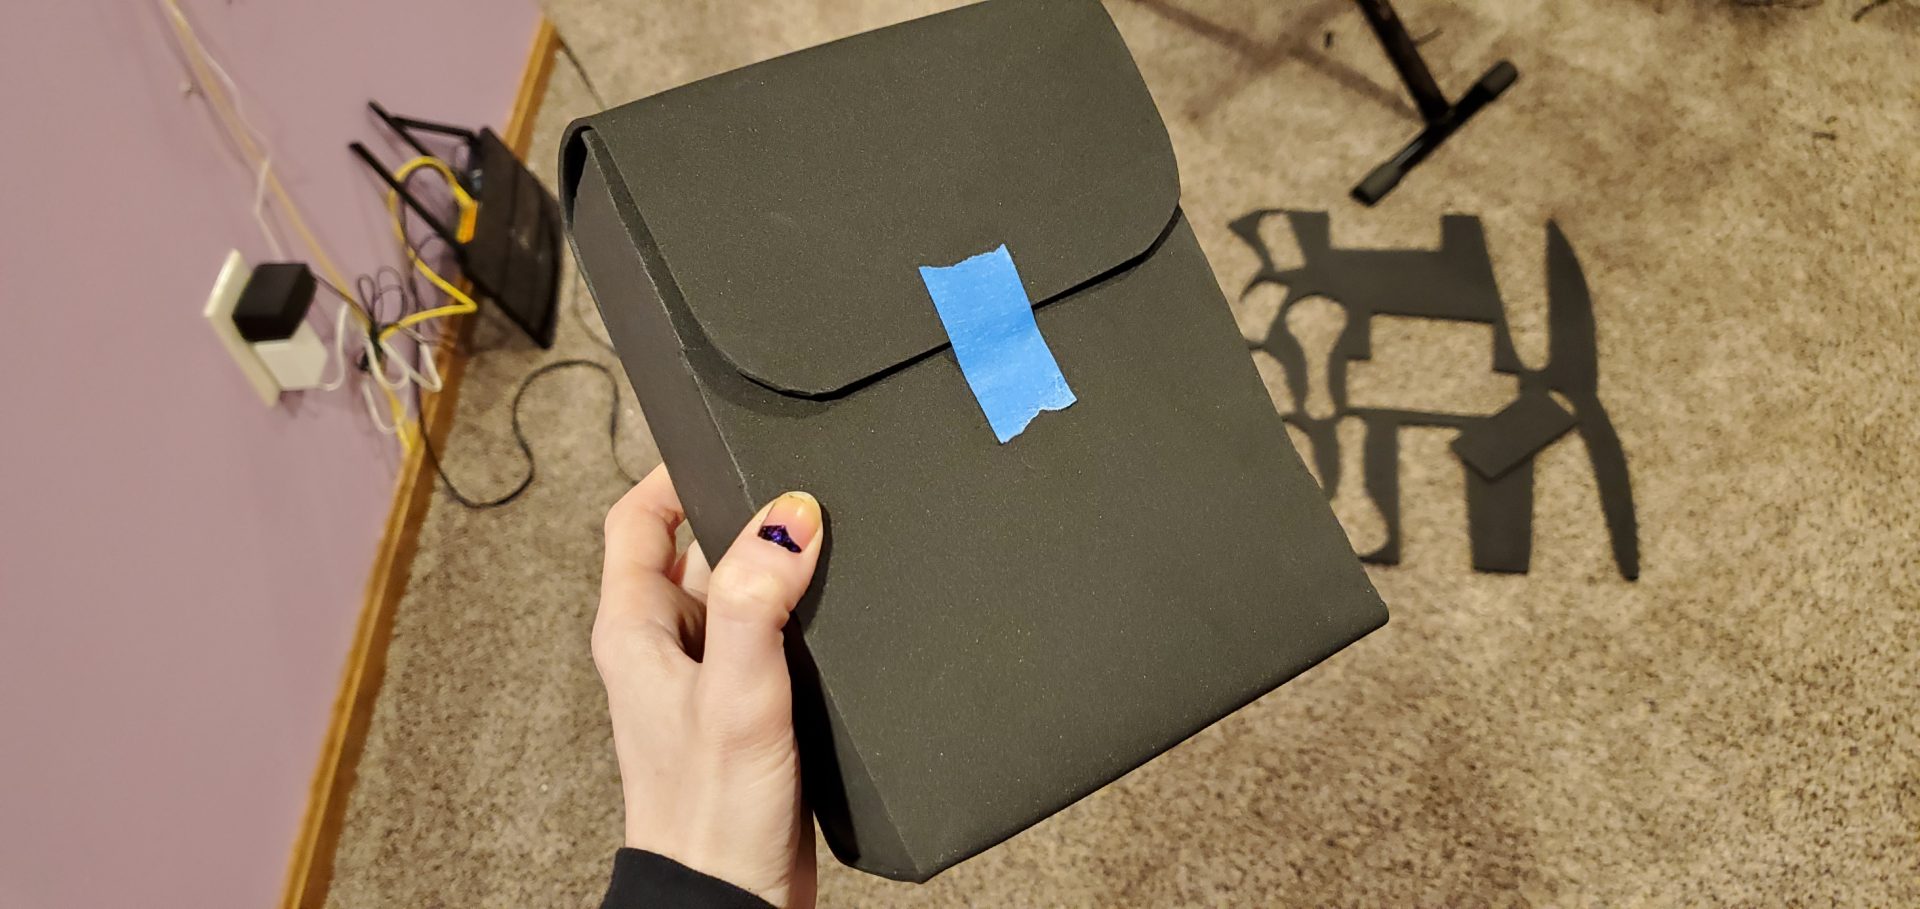
Once you’ve cut and glued those portions together you’ll be cutting out a strip of 2mm craft foam. To get the length you’ll need you’ll have to double both the length and height measurements from the first round, plus extra length you’ll want for the pouch flap that closes  in the front. This is a decently big belt pouch so the strip I cut was 23in. Run some contact glue along the edges of both pieces and carefully wrap the shell around your internal structure. Once it’s on I tend to give it a couple days with the flap taped shut before I start sealing the foam so that it keeps the memory of the fold better. You’ll see the fully painted version in next week’s blog when I start to assemble my main belts!
 Till then!