01 Jun Maker’s Monday: Belt Systems Part 1
Good morning everyone! Happy Maker’s Monday!
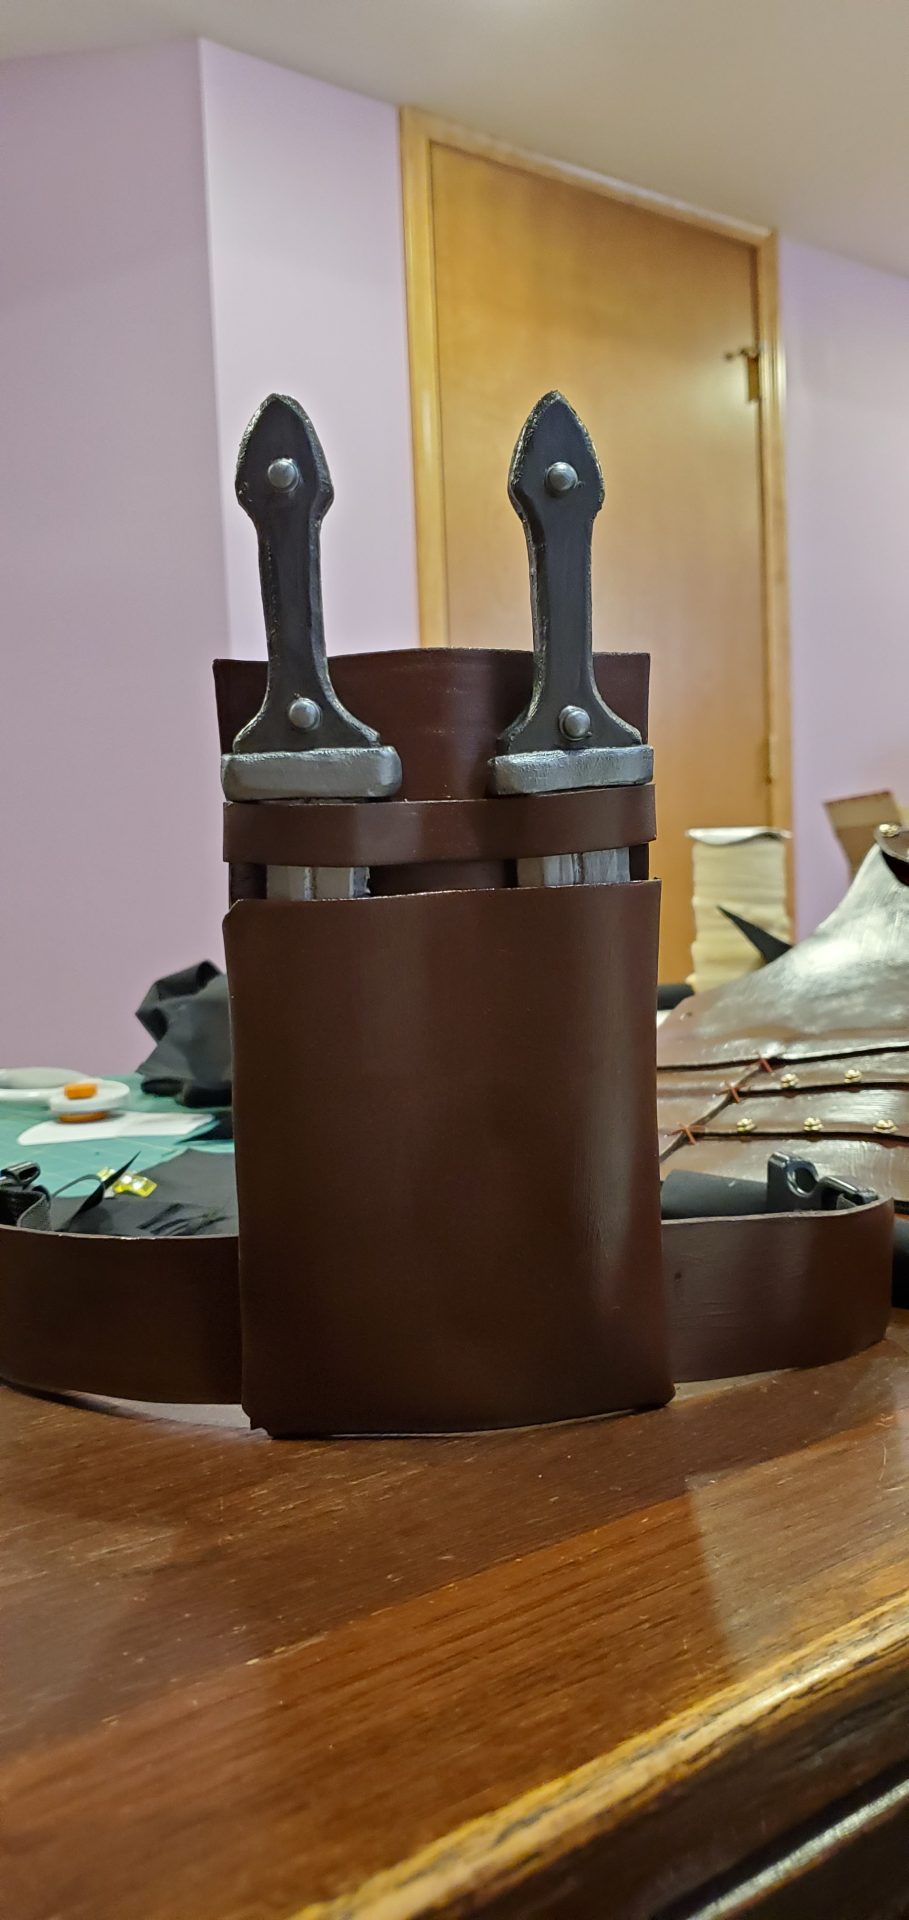
This week we’re getting started on belt systems! I’ve got the majority of my supplies in, but due to rerouting energy to sewing other things as well we’re gonna take a couple weeks on these. And the first thing we’ll be making is a thigh holster for daggers!
This is a relatively simple process, because unlike gun holsters, these guys can lay relatively flat so it doesn’t require you to make any big boxes. Just 2 panels and a strap. So let’s get started!
First thing’s first. You’re gonna need a few measurements. How long are the knives you’re holstering? Which part of your thigh are you placing them on and what’s the circumference? How far down will the top of the holster be landing from where your actual belt is gonna go? If you’re not working with a pre-existing strap, then go in this order:
- Holster/Knife height
- Drop distance from main belt
- Circumference of thigh
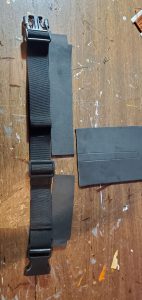
I’m working with one of the extra straps that came with the holsters I use for my Red Hood cosplay though, so that’s where I’ll be starting. Which make’s step one: see if it fits!
Once I checked that it was loosened to where it needed to be, and that I didn’t have any issues with just covering it up and rendering it useless for any other cosplays I got to work. For this week’s project I will be using: 2mm craft foam, acrylic paint, contact cement, and modge podge for sealing. The buckle will also be painted gold once I have time to get my hands on more gold paint.
So the strap fits. But before I can get to work on covering it, I need to know how much room the holster will be taking up on it.
Making one of these is a relatively simple process. You lay down the knife you’re looking to cover. Measure stuff like  height based on where you want the holster to end (in this case I only cover the blades), distance between knives if you’re using more than one so you can account for gluing down the center to have more secure pockets. And any additional things you want to add on (such as the small strap I have below the hilts). Once you’ve got all those measurements you can cut out a simple rectangle to fold over the top. Don’t forget to cut extra length on the sides so you can account for the part in the middle that will be glued down if you’re holstering more than one item.
After you’ve taken care of putting it together you can get back to the  strap that will go around your leg! Since I had one already I just picked the spot where I knew I’d be gluing down the holster, marked either side with a dress maker’s pencil, and then traced the length of the strap I needed to cover it on to 2mm craft foam. And since I’m covering up the fabric there’s no need to keep it looking nice, so I can just use contact cement to bond the fabric with the foam covering it! I also took extra care to make little divots at the ends that would be resting by the buckles so I could feed some foam in and get as much coverage of fabric as possible.
When I had everything built and tested to make sure it still fit/still held the daggers properly, I painted both pieces separately, so that anything that got damaged by contact cement afterwards could be touched up when I was done. Obviously the buckle will still need to be painted, but once you’re done you can give it a nice layer of modge podge to seal and mattify the paint and
  you’ll be good to go!
Make sure to check in next week as I continue to work on the belt systems by planning out pouches and scabbards!


