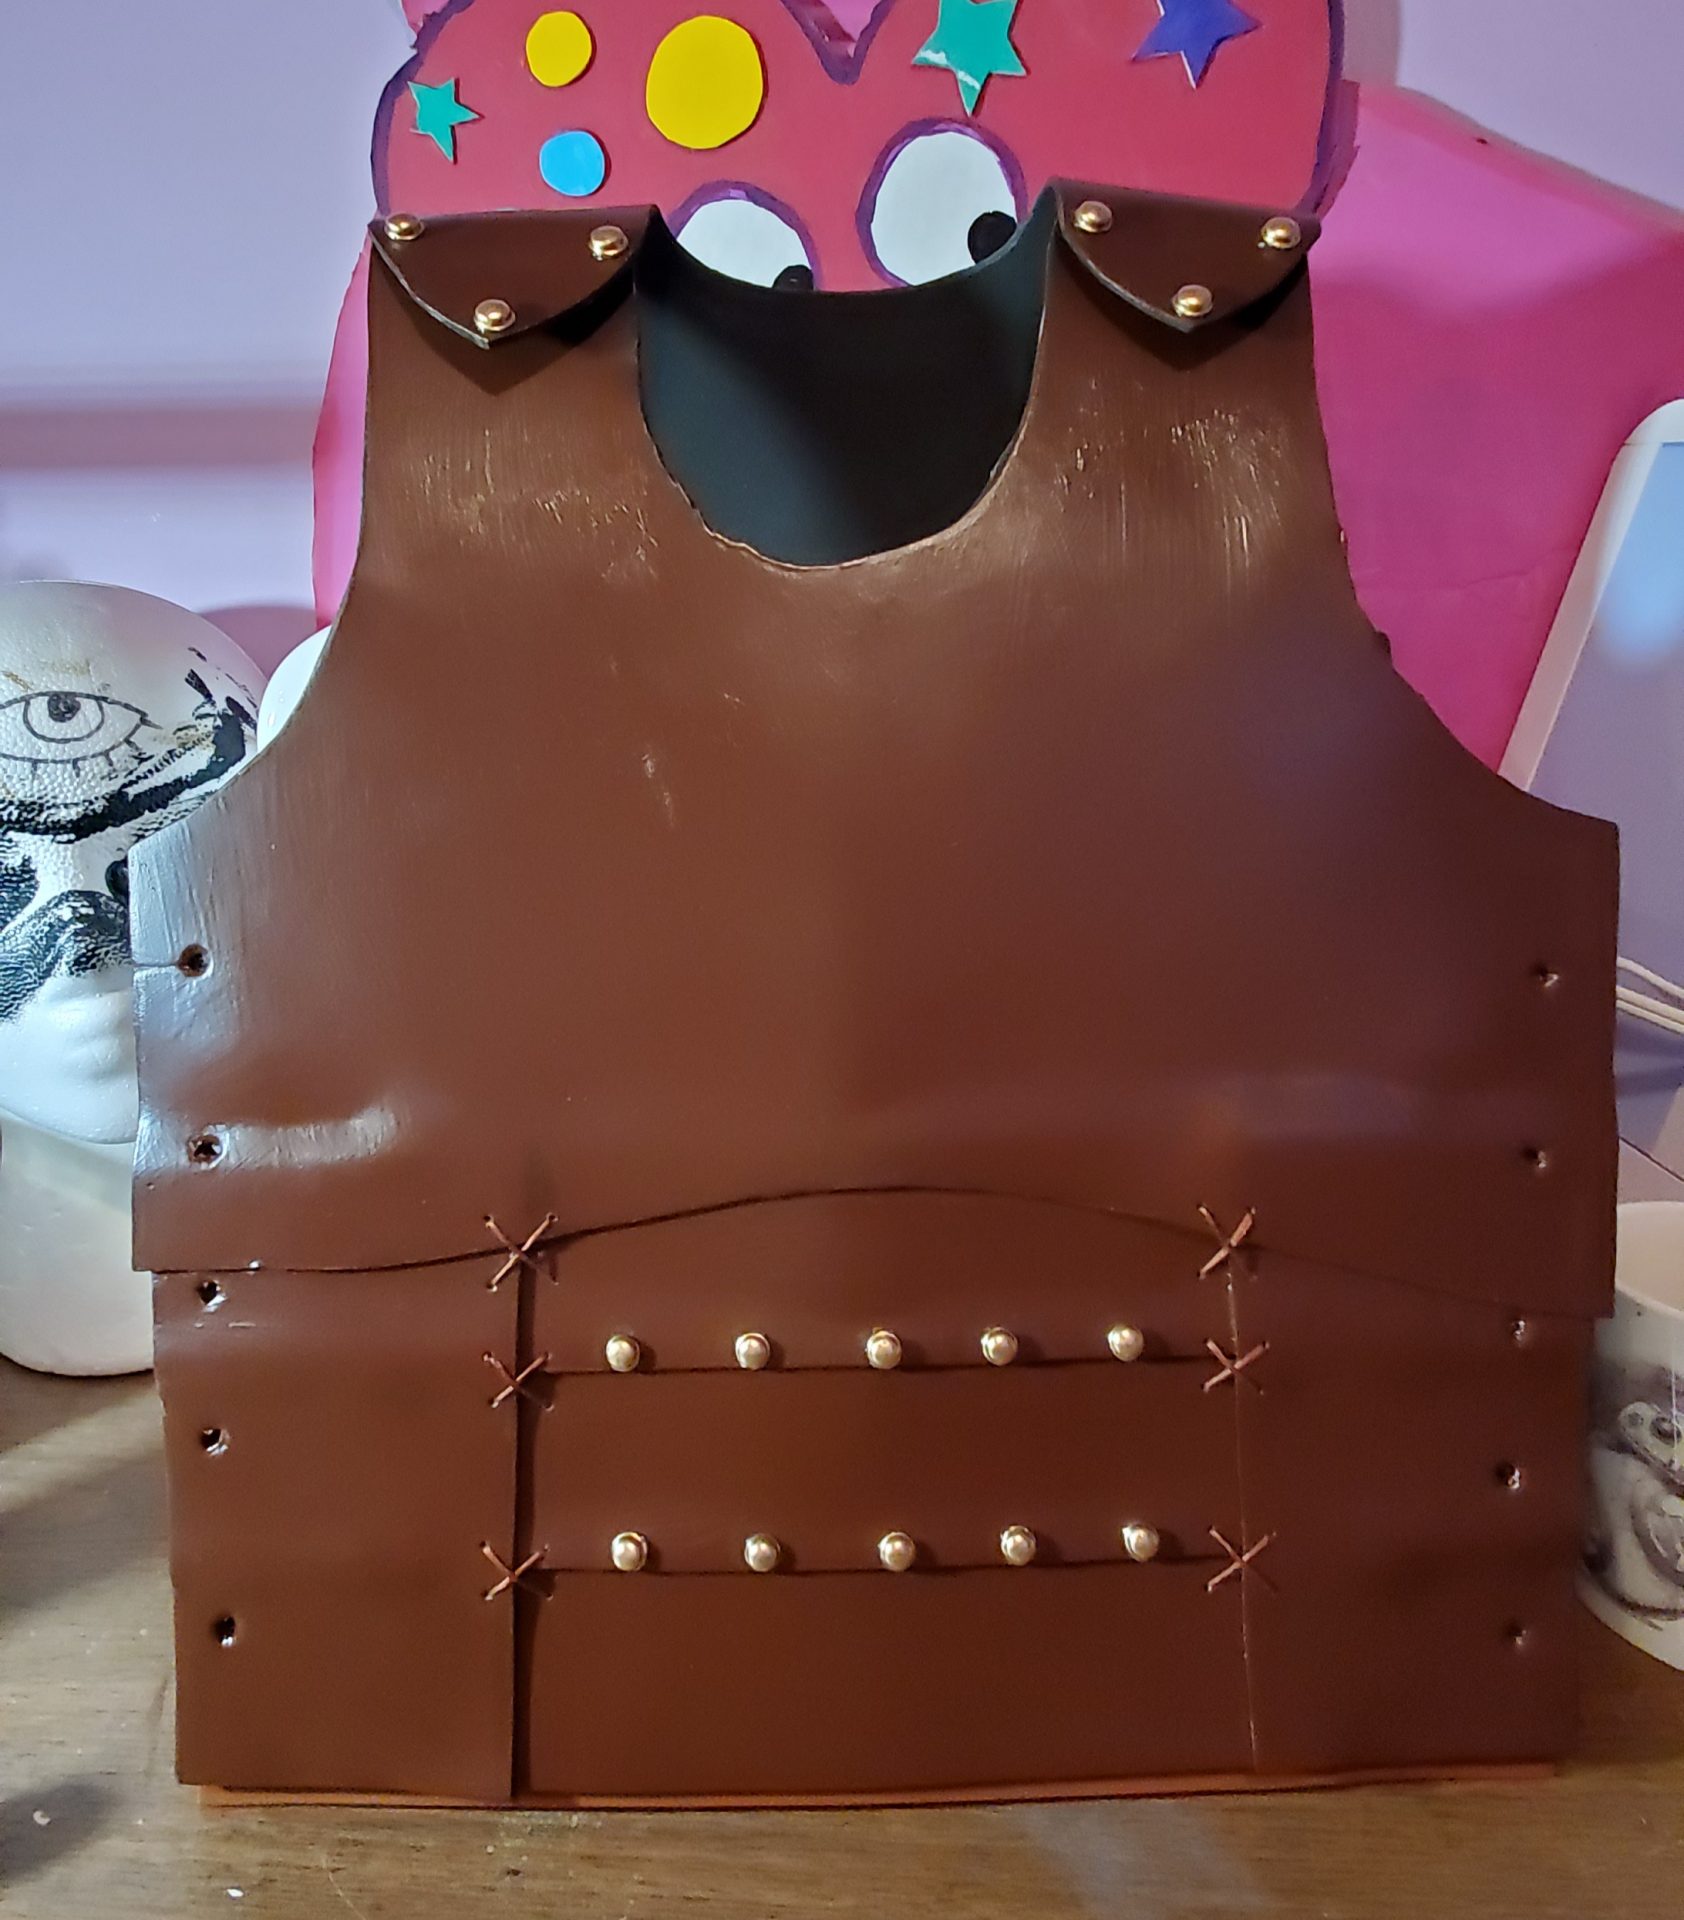
25 May Maker’s Monday: Chest Piece
Good morning everyone! Happy Monday!
Last week I ended my blog saying that I’d be talking about belt systems this week, but the majority of my supplies were stuck in delay. Not an issue in my book, I’m happy to pivot. So this week we’re going to talk about chest pieces! And lucky for me, Leo is the only one with a visible chest cover so I only had to make one thing this week. Let’s get to it!
The supplies I’m using this week are 2mm craft foam, acrylic paint, contact cement, googly eyes, and my handy dandy knife. Standard stuff.
Now today the chest piece I’m going to be working on is for a rogue, so it’s not full plated chest armor, but rather a leather style piece. It’s got a couple layers on it mostly for aesthetic purposes but overall it’s a less complicated process because it’s two separate pieces that get laced up on the sides. So head to google and get some inspiration. Got some? Okay!
Now the length I want my piece to hit is the same as the patterns we keep for the production of our binder’s, so that’s what I’ll be using the pattern out my pieces. But in the past I’ve also used things like tank tops, and the good old masking tape over plastic wrapped torso technique to be able to create armor pieces for my chest. Whatever method you end up using just make sure to get it secured down to the foam so you can get it transferred and cut to the  desired size!
 So I’ve got my two base pieces. The back is going to remain relatively untouched design wise, but the front requires some layering up on it. So to start I’ll be cutting 3 two inch strips for the bottom half. I’m using contact cement to attach them to the base piece, and just ever so slightly layering them on the top edge of the one below them to give a more 3D look. To get the side panels on top of them I just take some measurements to get the height of my 3 horizontal panels and then decide on the width. I do this once then flip it and trace so I can have two of the same piece. Anything that goes too far over the edge once I glue it down is just snipped off with scissors or my box cutter once it’s dry. And the top piece of it just requires me to put down the plate and trace around it so I’m just far enough down the side edges that when I draw the curves it’ll still overlap with the layers underneath it.
To get the look of studs I’m using googly eyes and making poor jokes on facebook about my eyes being down here when I try the piece on. After I’ve got those glued down I’m using a soldering iron to burn some holes down the sides of both pieces so I’ll have a place to lace it up. If you’re  going to be doing a lacing technique with foam this thin, please make sure to layer up a couple pieces where you’ll be lacing it and be very careful when you lace it up as foam can still tear if you’re too rough with it. You can also use grommets to reinforce them, but I didn’t get the
  chance to order any so there’s also a possibility I’ll stick them in in the future. I’ll also be changing out what I’m using to lace it up but for try on purposes I’m just using some grey yarn that I happen to have a lot of.
It’s worth noting that this piece is specifically designed with the fact that I have to wear a binder under it in mind. Always make sure that when you’re designing something specific to your chest you know which kind of dimensions you’ll be working with as this piece would not be laying the same at all if I didn’t have the binder on.
 But you’ve got it built, you’ve tried it on and it fits, that means it’s time to paint! Today I’ll be using Master’s Touch Acrylic in Burnt Umber and Basic’s Acrylic in Burnt Sienna. To get the color I want without the black foam showing through I will be using 3 coats of each before sealing it in with modge podge. The studs will be painted with a gold oil based paint, and to get the stitching detail I’ll be using embroidery thread and feeding it through the foam with one of my larger needles.
And there you have it! One chest piece ready to go. And looking at my order email, it looks like next week I will in fact be making belt systems for you guys! So make sure you check back next week for it!


