29 Oct Halloween Remake – Blood Moon Kalista pt. 4
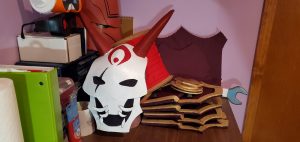
Hello everyone and welcome to the final (for now) installment of our Halloween remake series! When I originally set out to bring this project to life, the intention was that I would have enough time within the month span to recreate the entire costume. Unfortunately though, I’m not as good at powering everything out as I used to be (when I originally made this costume I was still able to pull all nighters without my sleep schedule suffering for next month), and I had a lot of real life stuff to take care of this month which didn’t help my timeline either. But I’m here! I have things to show you still! And sometime closer to GalaxyCon I will be back with a final side by side to show you guys before I take it on to the convention floor. So let’s get started!

Today I will be showing you how I went about decorating one of my calf gauntlets, a process I will be recreating for my other 3 gauntlets in November, what my finalized belt pieces look like now that they’ve got their borders and studs, and a trick that someone brought up to us for stabilizing my chest gear while we were downtown in September for Cincy Comic Expo. First things first then: fabric covering for my guards.
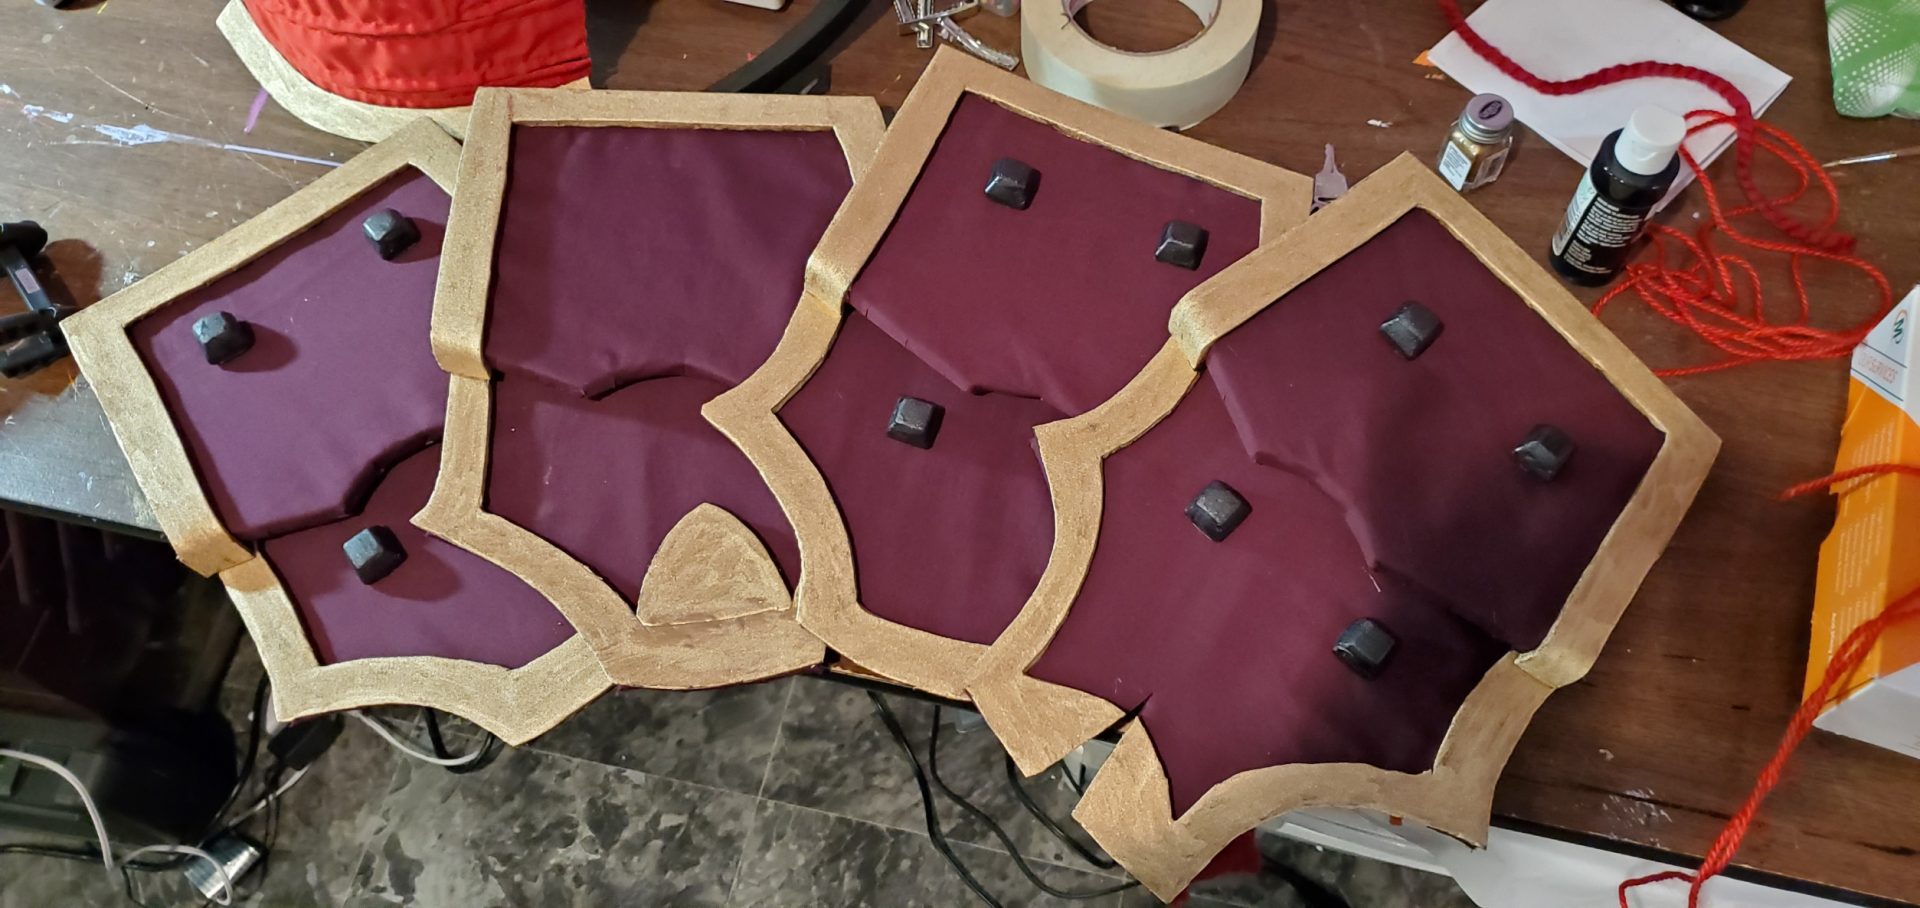
 When I originally made these guard pieces back in 2015/16 much like most of the pieces, they were 2mm craft foam with a flat piece of fabric covering them and flat pieces of craft foam bordering them. They didn’t even really cover my legs all that well, but hey I will give the original costume props: it did spark my love for foam work. For the pieces this time around I really wanted to work to make they look more 3 dimensional than the last go about. The first thing I changed up was how I did the fabric covering. This time instead of just one big sheet of fabric, I sewed individual strips and carefully laid them side by side on the foam to create a slightly more “woven” look that lends to natural shadowing. After those were laid down I measured out some beveled pieces of craft foam from TNT cosplay supply and ran those along the top and bottom edges to mimic the disc like look she has on her guards in the splash art. Once everything was on it was just a matter of carefully painting the triangle edges gold while trying not to ruin the fabric much like with my belt pieces earlier in the week. To attach them to my body when I wear them out I will be using a piece of yarn that matches the fabric to act as a shoelace in the back for it.
For the follow up on my belt pieces, I found working with the craft foam clay to have the exact desire I wanted. It took about 4 days total to get all 12 studs I needed cured, and after they were done I taped them down to a plate,  painted them with a pearlized black, and glued them down to the 3 pieces that needed them. I will be attaching these to a belt for easy wear, although the last time I made these I sewed magnets to the pants I wore, and glued the other half onto the foam pieces which also worked very well to keep them in place as I walked about the convention.
And finally we come to the chest piece. Back during Cincy Comic Expo we had someone come up to our booth to ask  an interesting question. Their friend was looking for something that they could attach armor to for a spider-man
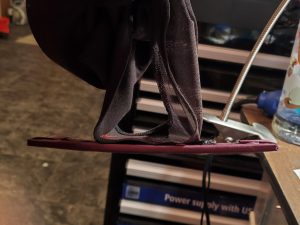
  cosplay, did we know if this garment would be able to work for that? The answer is yes. The fabrics we work with are strong, but they’re also very easy to sew through. In fact, I’ve already done it on a couple different occasions just so we could complete an experiment. But we wanted to make sure we could show how the binder could in fact be used that way. So I told my mom about a cosplay I could remake that included chest armor, and then I got to work. For this stabilization
  process I will be using sew on velcro. For now I will be sending the straps on a quick trip through the sewing machine, and later I will sew on any other parts that I may think will need extra stabilizing. That way when I move with the costume, it’ll move with me instead of going whichever direction it pleases. This way I can wear my cosplay more comfortably, instead of having it wear me.

And that’s it (for now) on our Halloween series! If you have any questions you can always feel free to reach out to us via Instagram @BURSLFLLC. Next week we have a special guest writer @MadMollCosplay for a write up on one of their cosplays! And this Wednesday (October 30th) I will be doing a livestream at 5pm eastern standard time working on my cat’s Halloween costume. Come by, chat, ask questions that maybe I can answer, but if they’re math related probably not. And remember to have a fun AND safe Halloween!


